Getting started & onboarding
Step 2: Connect Your Meta Accounts
This is the most crucial step of Onboarding, as it enables Markettai's ability to launch, manage, and optimize your ad campaigns. When delegating the operation, you only need to securely authorize access.

The Secure Authentication Process
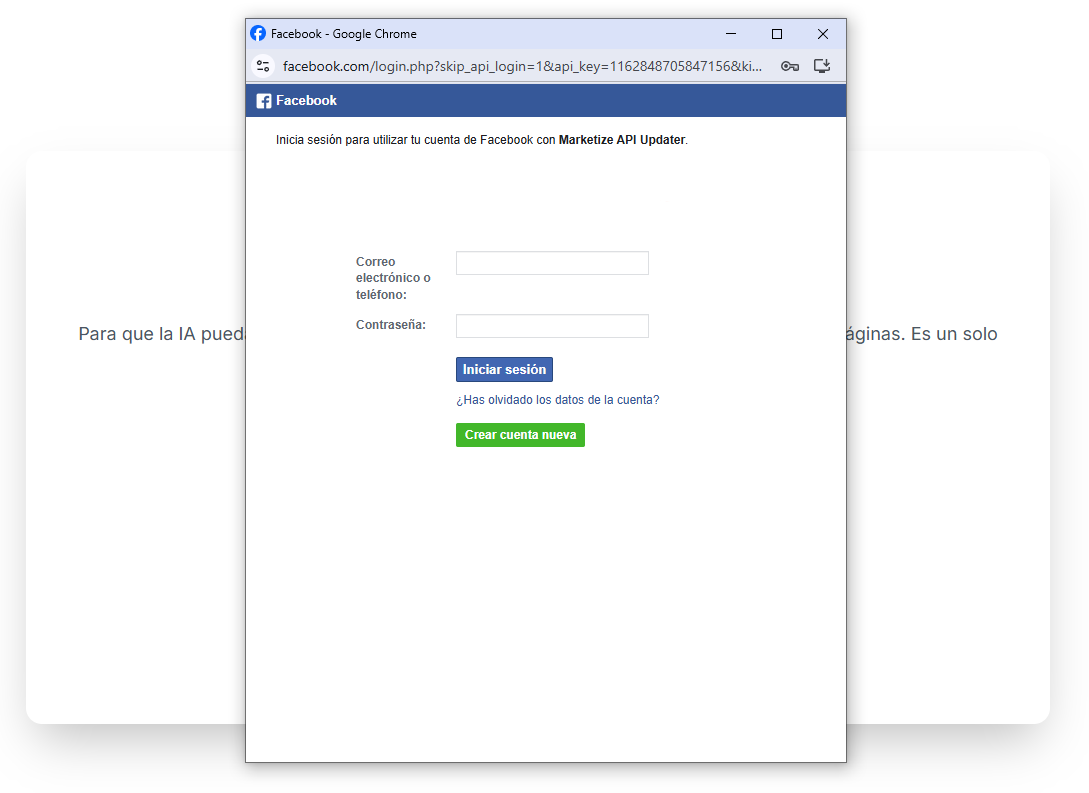
- 🔒 Start the Connection: Click the "Connect with Meta" button. A popup window will open for you to log into Facebook (your personal account) and confirm permissions.
- ⚙️ Permissions Requested: Markettai requests access to your Ad Accounts, campaign data, permissions to create and manage ads, and access to your Facebook Pages. This is necessary for Total Delegation and to operate the BOOST Engine.
Assisted Ad Account Management
The platform will automatically detect if you already have a Meta Ads account or if it needs to create a new one. We will guide you in both scenarios:
- ✅ If you already have an Account: You will be asked which Ad Accounts and Pages you want to associate and grant permissions to Markettai. Make sure to select the correct Business Manager.
- 🆕 If you need a New Account: The application will guide the creation of an Ad Account. You will only be asked for a name for the account (currency and timezone will be automatically filled with your business settings).
- ➡️ Next Step: If your Meta account does not have an active payment method, you will be briefly redirected to the Meta settings to configure it before returning to Markettai.